
The unboxing of a new smartphone or tablet is a highly anticipated moment.While the glossy, pristine screen may appear flawless, this initial excitement often fades when the first fingerprint or scratch appears. Protecting that beautiful display becomes essential, and the most effective way to do so is with a tempered glass screen protector. However, achieving a perfect application—free from bubbles, dust, or misalignment—can be a challenging task for many. At YCYMO, with over 13 years of expertise in manufacturing screen protectors, we’ve perfected a method that ensures an easy, bubble-free installation. This guide will provide a comprehensive overview of the entire process, from preparation to troubleshooting, ensuring your device remains protected with a pristine, clear finish, as if it were brand new.
The Standardized Cleaning Process
Eliminating Fingerprints and Surface Oils
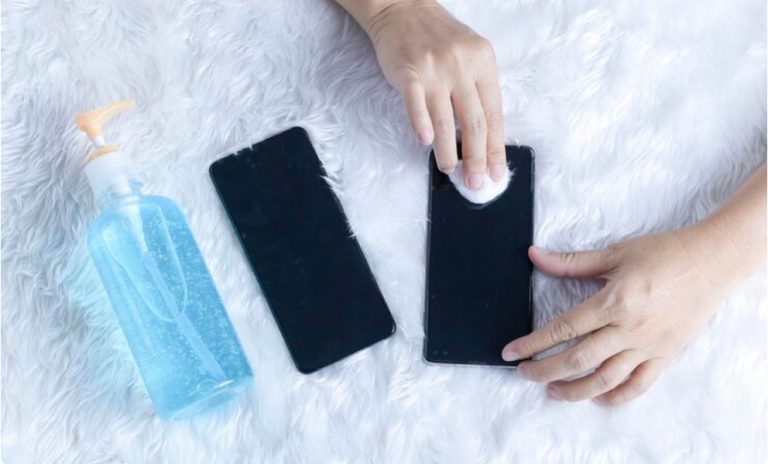
Start with the damp alcohol wipe from the YCYMO screen cleaning kit. Wipe the device all over. Pay extra care to the sides, where oils build up easily. This part matters a lot for our Full Coverage Protection Glass. Any leftover gunk on the borders can block a firm bond. Right after, grab the soft cloth. Wipe in a single direction until the screen feels totally dry and shows no streaks.
Mastering the Dust Proof Application
A screen that looks spotless might still hold tiny specks. Take the YCYMO dust removal sticker and tap it across the whole screen area. Our stickers have the perfect grip to pick up junk without adding goo. Watch the speaker hole and the rounded sides closely. These spots often catch dust, which can cause the edges to peel later.
Precision Alignment Techniques for Everyone
Manual Alignment with Full Coverage Tempered Glass
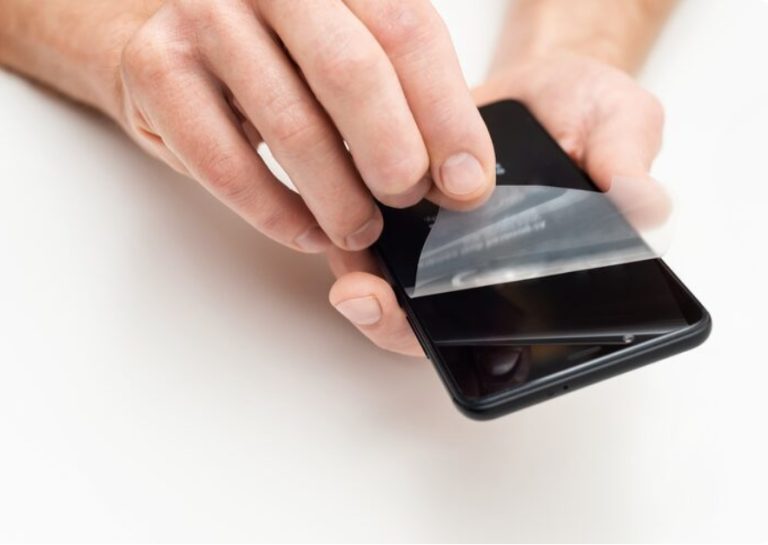
For manual setup of our Full Coverage Protection Glass, getting the position right is key. Pull off the backing from the sticky side while gripping the glass at its borders. This keeps your prints off it. Line it up using the speaker opening and the front camera as main guides. Our precision alignment setup makes sure it fits snug without blocking sensors on devices from Apple, Samsung, or Google.
Achieving Professional Results Every Time
With it in place, lower the glass onto the screen softly. Avoid applying pressure across the entire screen immediately. Instead, begin by pressing firmly in the center. At YCYMO, we craft our glass with strong glue that lets air push out from the center to the sides naturally. This trait allows a bubble free installation even if you’re new to it.
Using YCYMO Advanced Installation Tools
The X1 Dust Free Box Revolution
If you aim to cut out mistakes from handling, try our X1 Dust Free box. We created this main tool, and users in Southeast Asia and Northern Europe love it. The X1 Dust Free box boils the task down to three simple actions: put the phone in, draw the dust tape, and slide your finger to set the glue.
Simplified Setup with Gen4 Easy Box
For recent top phones like the Samsung S24 and S25 series, we supply the GEN4 EASY BOX. This device matches the exact size of those models. It makes the Full Coverage Protection Glass sit flat against the screen frame. Our Gen7 Dust Free Box and Gen8 Dust Free Box offer tailored fixes for various phone types. This shows our focus on flexible, easy-to-use shields.
Scaling Up for Tablets and iPads
Handling Large Format iPad Glass Protector
Putting on an iPad glass protector brings its own issues because of the large area. Dust has double the chance to land on a tablet screen while you work. To fight this, we include the TX1 Dust Free box for iPad. It applies the same three-step auto clean and line-up tech as the smaller ones. This tool delivers a bubble free installation on even the biggest 12.9-inch screens.
Managing Tension on Bigger Screens
If you opt not to use the box for tablet glass, the tape-based “Hinge Method” serves as an effective alternative. Since our tablet glass sticks to a standard 0.33mm thickness with 9H hardness, it holds firm when you manage it. But you need to control pull carefully to skip “halos” or air gaps near the borders. Begin the glue contact from one short end. Then, ease it along to the other side.
Troubleshooting Common Installation Pain Points
Removing Trapped Bubbles Safely
In most cases, air pockets can be pushed toward the edges using a soft cloth or flat tool. Apply a steady push. But if dust causes the bubble, it won’t budge. Then, use a nail to lift the closest corner of the YCYMO screen protector with great care. Use a dust sticker to carefully remove the particle from the adhesive. Let the glass drop back into place.
Dealing with Misaligned Glass Edges
A protector that’s off can clash with your phone cover. Our case friendly design adds a tiny space—often under 1mm—at the border. This fits most cases well. If the glass sits crooked in a clear way, lift it off fully. Retry the precision alignment fast, before the glue hardens too much.
Ensuring Long-Term Durability and Comfort
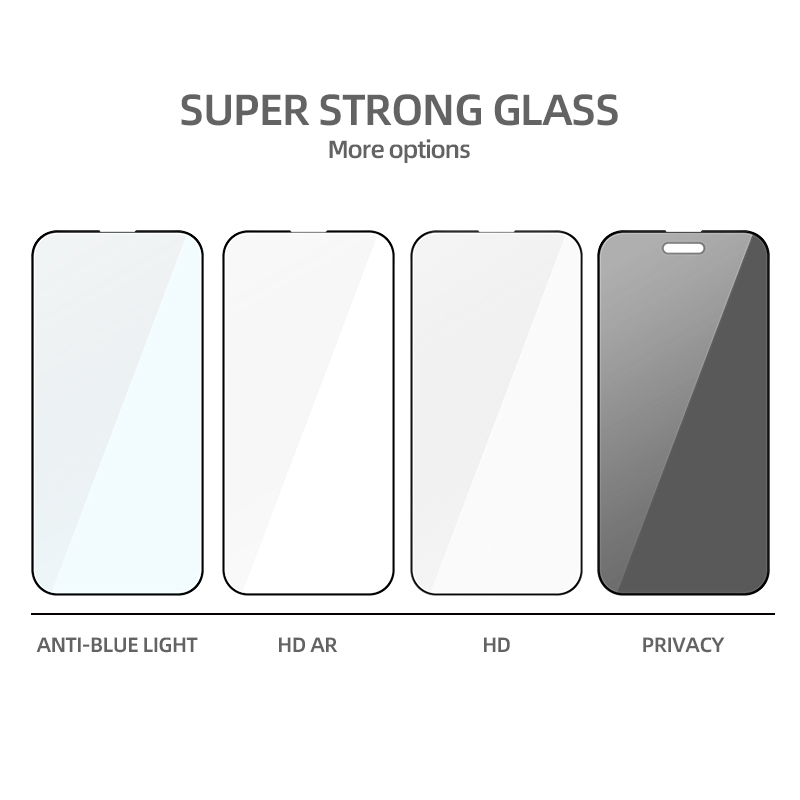
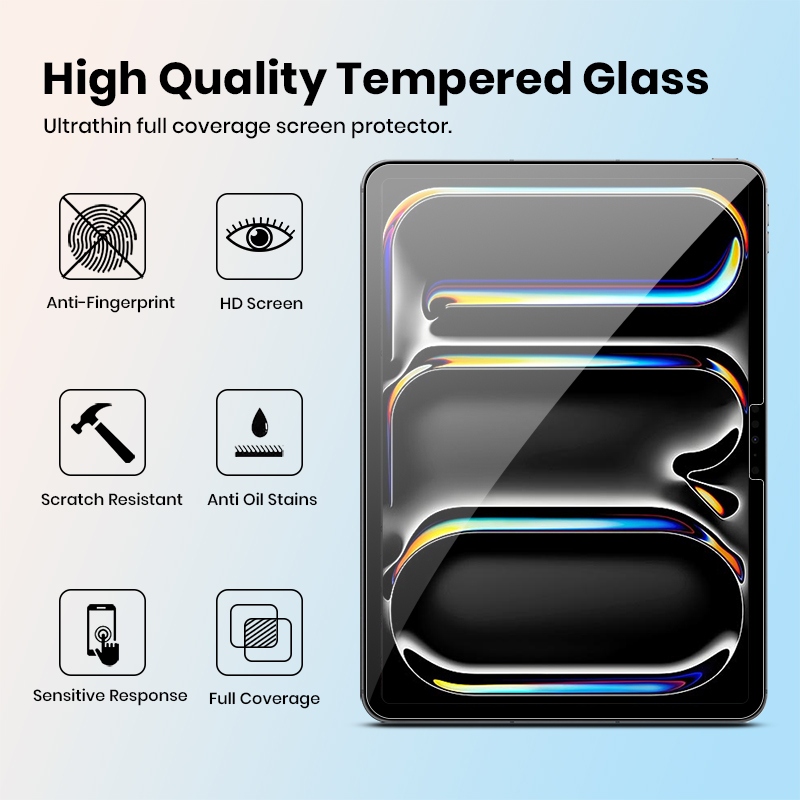
Benefits of the Anti-Fingerprint Coating
A key part of YCYMO glass is our strong anti-fingerprint coating. In production, we add a layer that fights oils from skin and water. This keeps the screen clearer longer. Plus, it gives a slick feel under your finger, much like the device’s built-in display.
Testing the Case Friendly Design
After the protector sets, slide your gadget into its case. We provide 2.5D curved borders and 3D full-wrap borders for premium phones. So, our shields stay case friendly. Case sides won’t push the protector loose over time.
Conclusion
Adding a tempered glass screen protector ranks as the top way to extend your mobile device’s life. The steps might look tough at first. But with quality items like the YCYMO screen protector and smart aids like the X1 Dust Free box, it becomes a basic three-part task. As a maker with over ten years in the field, we take pride in solutions that mix simple handling with top strength. If you’re a user after one clear cover or a company after OEM/ODM ties, our push for new ideas keeps your screen flawless from day one.
Contact our team today to discover the perfect YCYMO protection solution for your device or brand!
FAQ
Q: How do I get a bubble out of my screen protector?
A: For air bubbles, use a microfiber cloth to firmly push the air toward the nearest edge. If the bubble is caused by dust, you must carefully lift the corner of the YCYMO glass, use a dust sticker to remove the particle, and re-apply.
Q: Why does my screen protector have bubbles?
A: Bubbles are typically caused by two things: trapped dust or improper alignment during the initial drop. Using an automated tool like the X1 Dust Free box significantly reduces these risks by cleaning and aligning the glass simultaneously.
Q: Can I lift and reapply tempered glass?
A: Yes, but it must be done with extreme care. Lift the glass slowly from a corner to avoid cracking it. Ensure you are in a dust-free environment, as the adhesive side is highly prone to attracting lint once exposed.